How to Clean a Bird Feeder in 10 Easy Steps!
Last Updated on
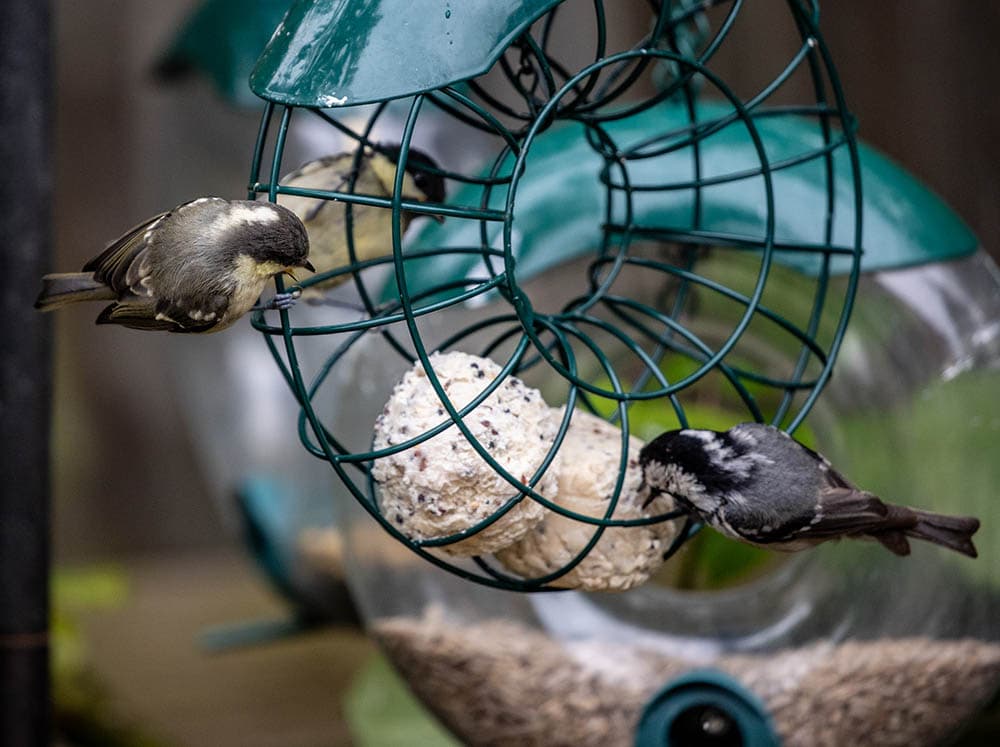
Bird feeders are a great way to attract local birds into your garden. But, if they aren’t kept clean, bird feeders, birdbaths, and feeding stations can quickly become infested with bacteria and fungal spores. Cleaning your bird feeders often will decrease the chances of infections spreading amongst your local wildlife.
To protect your backyard birds and encourage them to return, follow our simple step-by-step guide on how to clean a bird feeder.
Before You Start
Make sure you gather all of your supplies before you begin. Consider wearing an apron or appropriate clothing that you won’t mind getting dirty.
You will need:
- Rubber gloves
- A mask
- Plastic bin bags
- A large bucket or bowl
- Scrubbing brush
- Dish soap
- Watering can, hose, or outside tap
- Veterinary disinfectant, bleach, or white vinegar
- Rake
The 10 Steps to Clean a Bird Feeder
1. Wear your gloves and mask.
To protect yourself from bacteria and viruses such as salmonella and avian flu, wear a good pair of rubber gloves, and a mask before you start.
2. Empty the contents.
Empty the contents of the bird feeders into a bin bag. Do not throw the contents into the compost as doing so can spread any existing bacteria.
3. Disassemble the feeders.
Disassemble your feeder as much as possible to make cleaning each part accessible and easy. Modern bird feeders are easier to disassemble for cleaning purposes, so if yours does not, consider investing in a new one.
4. Scrape off any loose dirt
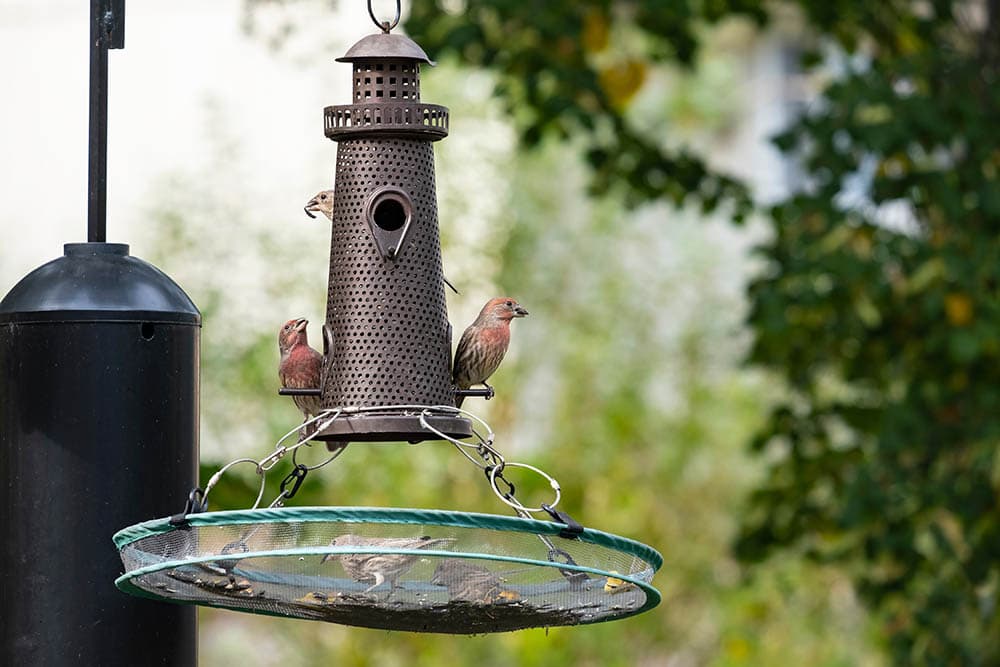
Getting as much of the larger pieces of dirt and debris off the feeders now will make washing them easier later. Remember to wear your mask, as this part can kick up a lot of dust and fungal spores!
5. Wash in warm soapy water.
Fill your bucket or bowl with warm soapy water and wash the bird feeder parts. A gentle dish soap is recommended for this. Use your brush to scrub off stubborn dirt.
6. Rinse with clean water.
It’s important to rinse the feeders completely before moving on to disinfecting them. Use clean water from a watering can, hose, or outside tap.
7. Use disinfectant.
There are three ways to disinfect your bird feeder:
- Use a veterinary disinfectant – The instructions for dilution and whether the disinfectant will need rinsing or not will depend on the veterinary disinfectant you use. Always refer to the instructions on the bottle.
- Use bleach – Soak the bird feeder in a solution made of 1 part chlorine bleach and 9 parts water.
- Use white vinegar – As an alternative to bleach, use 1 part white vinegar to 1 part hot water. Soak the feeder in vinegar solution for at least 1 hour.
8. Rinse thoroughly.
It’s vital that you rinse the feeders thoroughly after disinfecting to remove any bleach or vinegar residue. Use a hose or watering can and rinse each part, then place in the sun to dry.
9. Clean the feeding station.
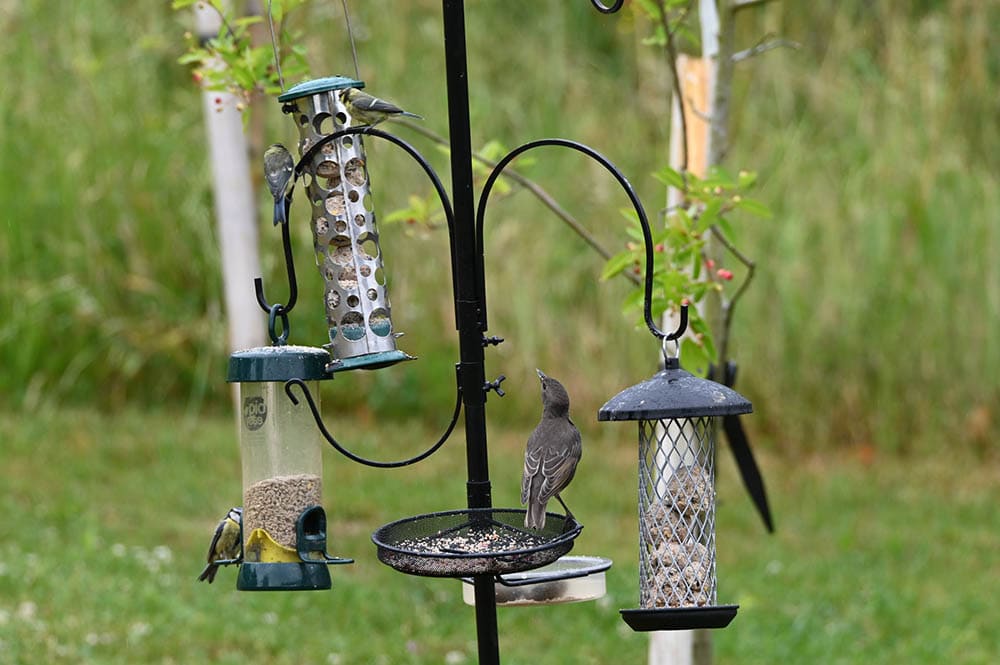
It’s a good idea to move the feeding station around your garden to discourage bacteria from growing, but whether you plan on replacing the bird feeders in the same spot or not, now is a good time to rake up any dirt from the ground and tidy up.
10. Reassemble the feeders and fill.
Now that your bird feeder is clean, and the station is tidy, you can reassemble the bird feeder and fill them up with fresh food.
Don’t forget to wash your hands thoroughly with soap and water when finished.

How Often Do Your Bird Feeders Need Washing?
In hot and humid months, and when the feeder sees heavy traffic, it’s better to clean your bird feeders as regularly as possible. Giving it a quick clean once a week will prevent bird food from congealing, becoming moldy, and creating stubborn patches of dirt.
In cold months, you might be able to get away with cleaning the feeder once a month, but if you spot any signs of mold, dispose of the food and give it a deep clean as soon as possible.
Is it safe to wash bird feeders in the kitchen sink?
You should never clean your bird feeders in the kitchen, or anywhere near where food is likely to be prepared. Cleaning bird feeders in areas such as these can increase the risk of cross-contamination with bacteria such as salmonella.
You should try to clean bird feeders outdoors in a bucket or a large bowl, however, if this is not possible, you could use a large washtub or bath.

How To Prevent Mold from Growing In Bird Feeders
The best way to prevent mold from growing in your bird feeders is to refill them with fresh food regularly. Using smaller feeders, or only filling them halfway so that the food is consumed in a day, will decrease the chance of leftover food turning bad.
Hulled seeds are more susceptible to mold and mildew, so you should consider buying unhulled seeds instead, especially during wet and humid weather.
What is the best way to clean a hummingbird feeder?
Hummingbird nectar needs regular changing to prevent fermentation and the growth of bacteria and mold. Depending on the temperature, you may need to pour out and clean the nectar daily. If the temperature outside is 70°F or less, you can change the nectar every six to seven days. However, if the temperature is 90°F or more, you’ll need to change it every day.
In addition, if you spot any of the following signs, you should change the nectar and clean out the feeder immediately:
- An overly sweet or sour odor
- Cloudy, stringy, or floating particles in the nectar
- Crystallization
- Mold
Here’s how you can clean your hummingbird feeder in 3 easy steps.
Before You Begin
Any remaining nectar at the time of cleaning your hummingbird feeder will have been contaminated, so do not try to reuse it. Instead, pour it down the drain.

1. Disassemble and wash
As with the regular bird feeders, you can wash your hummingbird feeder in hot, soapy water.
2. Soak in a white vinegar solution
Soak the hummingbird feeder in a solution of 2 parts water to 1 part distilled white vinegar for at least one hour, preferably longer. After disinfecting, use a brush to scrub out the feeder and wash with hot water and soap again.
3. Rinse thoroughly
Rinse your hummingbird feeder thoroughly to remove any soap or vinegar residue and leave it in a sunny location to dry.
Final Thoughts
Cleaning and maintaining your bird feeders regularly will help to keep your avian friends healthy and encourage them to come back for more. You should aim to clean bird feeders as often as once a week, and hummingbird feeders once every 2 to 3 days, or more often depending on the temperature.
Featured Image Credit: Wirestock Creators, Shutterstock
About the Author Cheryl Regan
Cheryl is a freelance content and copywriter from the United Kingdom. Her interests include hiking and amateur astronomy but focuses her writing on gardening and photography. If she isn't writing she can be found curled up with a coffee and her pet cat.
Related Articles:
How to Clean a Refractor Telescope: Step-by-Step Guide
How to Clean a Telescope Eyepiece: Step-by-Step Guide
How to Clean a Rifle Scope: 8 Expert Tips
How to Choose Binoculars for Bird Watching: 10 Expert Tips
10 Types of Hummingbirds in Arkansas (With Pictures)
8 Types of Hummingbirds in Nebraska (With Pictures)
5 Types of Hummingbirds in Idaho (With Pictures)
3 Types of Hummingbirds in Mississippi (With Pictures)
